A battery charger should usually sound quiet, with only a faint electrical hum in some designs. When the noise becomes sharp, irregular, or noticeably louder, it deserves attention. Many readers ask, “Why does my battery charger make a buzzing noise” after hearing vibration near the transformer, plug, or cooling fan. That sound may come from coil vibration, loose components, overloaded circuits, damaged cables, or a failing power supply. It is not automatically dangerous, but ignoring changes can be unwise.
The International Energy Agency reported nearly 14 million electric cars were sold worldwide in 2023, increasing demand for dependable charging equipment. The U.S. Fire Administration also identifies electrical malfunctions as a significant contributor to residential fires, supporting careful inspection rather than guesswork. These figures do not prove that every buzzing charger is hazardous. They do show why charger condition matters.
This guide explains how to identify the sound safely. You will compare a soft, steady hum with crackling, clicking, or heat-related noise. You will also inspect the outlet, charging cable, ventilation, and adapter housing. Stop using the charger if it smells burnt, feels unusually hot, sparks, or shows melted plastic. Unplug it by holding the plug, not the cable. Never open a sealed charger without proper training.
A practical check can reveal a simple cause. Still, I should acknowledge one limitation: sound alone cannot confirm an electrical fault. If the noise persists, a qualified technician should test the charger and outlet. Reliable diagnosis is better than a confident guess.
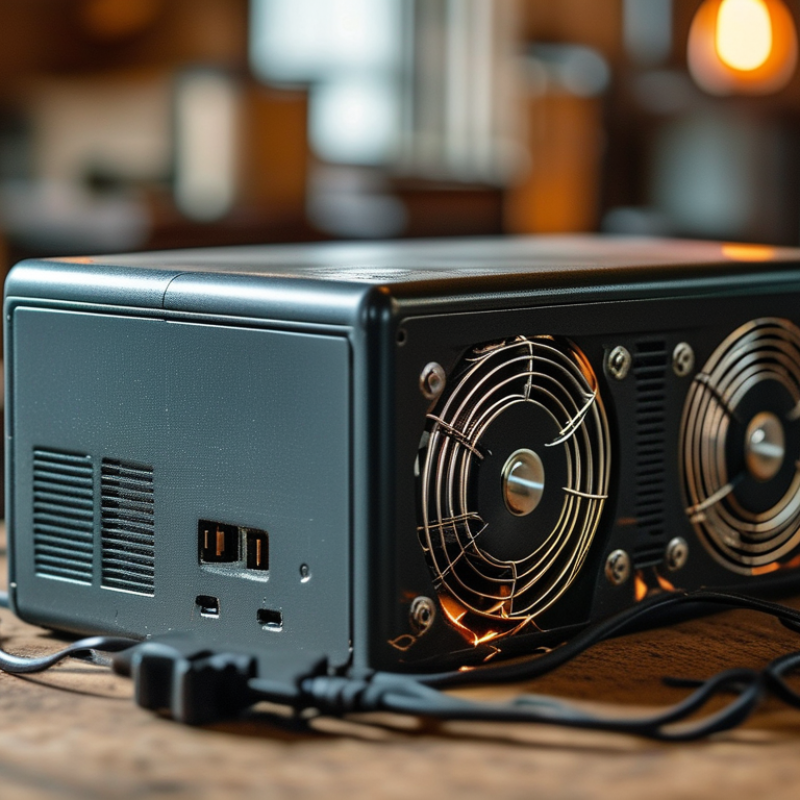
A buzzing charger should be diagnosed by sound, location, and timing. Disconnect the battery and listen briefly from a safe distance. A low, steady hum often comes from the internal transformer or magnetic components. Mild vibration may be normal, especially during heavy charging. However, a sudden increase in volume deserves attention.
A high-pitched buzz can indicate coil vibration, sometimes called coil whine. It may change when the battery reaches a different charging stage. A rattling sound often points to a loose cover, fan, or internal mounting part. Crackling, popping, or a smell like burnt plastic is different. Stop using the charger immediately. Do not open it while connected to power.
Check where the noise begins. Place the charger on a solid, dry surface, not a hollow table that amplifies vibration. Touch only the outer casing and notice unusual heat, but never cover ventilation openings. Try another compatible outlet if the sound appears only in one location. A loose wall connection can create misleading symptoms. My first guess might be wrong; sound can travel through cables and nearby furniture. If the buzzing remains loud, becomes intermittent, or occurs with excessive heat, have a qualified technician inspect it. A charger that was quiet for months should not be treated as normal merely because it still charges.
| Buzzing Type | Likely Source | Typical Conditions | Safe Diagnostic Check | Recommended Action | Stop Using Immediately If |
|---|---|---|---|---|---|
| Low, steady hum | Magnetic vibration from a transformer or inductor | The sound begins as soon as the charger is plugged in and remains fairly constant | Place the charger on a solid, nonflammable surface and check whether the sound changes when vibration is isolated | Ensure ventilation, keep the charger level, and use it only if the noise is mild and the casing remains cool | The hum suddenly becomes louder, the case overheats, or the odor of burning insulation appears |
| High-pitched whine | Switching components operating at an audible frequency or under changing load | The pitch changes when the battery state of charge, charging current, or electrical load changes | Disconnect the battery and listen briefly; do not open the enclosure or touch internal parts | If the charger works normally and stays within its specified temperature range, monitor it; otherwise replace it with a correctly rated unit | The whine is accompanied by charging failure, repeated restarting, sparks, smoke, or abnormal heat |
| Buzzing only when connected to the battery | Battery load, poor electrical contact, incorrect polarity, or a battery condition outside the charger's operating range | The noise stops when the battery is disconnected and returns after connection | Inspect terminals and connectors with power disconnected; confirm polarity and compare battery voltage with the charger's requirements | Clean compatible terminals, make a firm connection, and use a charger designed for the battery's chemistry and voltage | The battery swells, leaks, becomes unusually hot, or shows signs of physical damage |
| Intermittent buzz or clicking | Protection circuitry repeatedly starting and stopping because of overload, short circuit, or unstable input power | The sound follows a repeating cycle and charging LEDs may also blink | Unplug the charger, remove extra loads, and test a known-good wall outlet without an extension lead | Check the cable and connectors for damage; if cycling continues, have the charger tested or replace it | The plug, cable, outlet, or charger becomes hot, discolored, loose, or emits crackling sounds |
| Rattling or vibrating noise | Loose internal component, fan, mounting part, or external object contacting the enclosure | The sound changes when the charger is moved or lightly touched | Disconnect power and inspect only the outside for loose screws, blocked vents, or objects against the case | Remove external obstructions and improve placement; do not shake, dismantle, or repair a sealed charger | There is visible damage, a loose part inside, exposed wiring, or evidence that the fan is obstructed |
| Crackling, sizzling, or arcing sound | Electrical arcing, damaged insulation, contaminated contacts, or a failing connection | The noise is irregular and may be accompanied by flickering, a burnt smell, or visible flashes | Do not perform further testing; switch off power at the outlet if it is safe to do so | Replace the charger or have it inspected by a qualified technician; do not tape over damaged insulation | Always stop immediately and disconnect power because fire and electric-shock hazards may be present |
Not always. Some chargers produce a faint, steady hum during normal operation. A sharp, changing, crackling, or grinding sound needs attention. Listen closely. Stop using it if the noise increases.
Unplug it and let it cool completely. Keep it away from water and flammable materials. Do not touch damaged areas while it is warm. Let it cool.
Check the casing, cable, plug, vents, and connectors. Look for cracks, burn marks, melted plastic, loose parts, and darkened areas. Frayed insulation and exposed wires require replacement.
Yes. A loose socket, scorch mark, or warm faceplate may indicate an electrical problem. Use another undamaged outlet only when the charger appears intact. I once blamed the charger, but a loose outlet caused the noise. That assumption was careless.
Unplug the charger first. Use a dry, soft brush around the ventilation openings. Do not spray liquid inside. Dust may make a cooling fan work harder and produce uneven noise.
No. Internal components may retain dangerous energy after unplugging. A qualified repair professional should inspect loose mounts, damaged fans, capacitors, or wiring. Do not guess.
Do not charge a battery with swelling, dents, leaks, torn wrapping, or corroded contacts. Avoid batteries that rock on a flat surface or feel unusually hot. Clean dry contacts gently, without metal tools or liquid.
Replace it when the cable has exposed wires, stiff sections, bent connectors, or damaged insulation. Stop using the charger after sparks, burnt smells, overheating, or irregular charging. One worn cable is not worth repeated testing.
No. Cleaning may reduce noise caused by dust, but it may not remove the problem. External screws or terminals can sometimes be tightened with the correct tool. A visual check helps, but it does not prove safety.
A battery charger that produces a buzzing sound may be experiencing anything from normal electrical vibration to a loose or damaged component. Start by identifying whether the noise is a soft, steady hum or a loud, intermittent buzz, and note when it occurs. Inspect the charger housing, cable, plug, outlet, and battery for cracks, burns, swelling, frayed wires, or unusual heat. If you are wondering, “Why does my battery charger make a buzzing noise,” these observations can help narrow down the cause.
Test the charger only under safe operating conditions, using a suitable outlet and the correct battery. Disconnect it immediately if the noise becomes louder, the charger overheats, or you notice smoke, sparks, or a burning smell. With the power disconnected, clean dust from accessible surfaces and ensure connections are secure, but do not open sealed parts unless qualified to do so. Replace visibly faulty cables or components when appropriate. If the buzzing continues or the cause is unclear, stop troubleshooting and seek help from a qualified professional.

 E-Tronde Charger